Everything that I chose throughout this protocol was for a very specific reason that was backed up by data. I think that I have a very good understanding of the theory behind each step, although my primary goal was to make something effective regardless if I understand why. Here I will describe my reasoning for why each step is the way it is.
Basic Theory
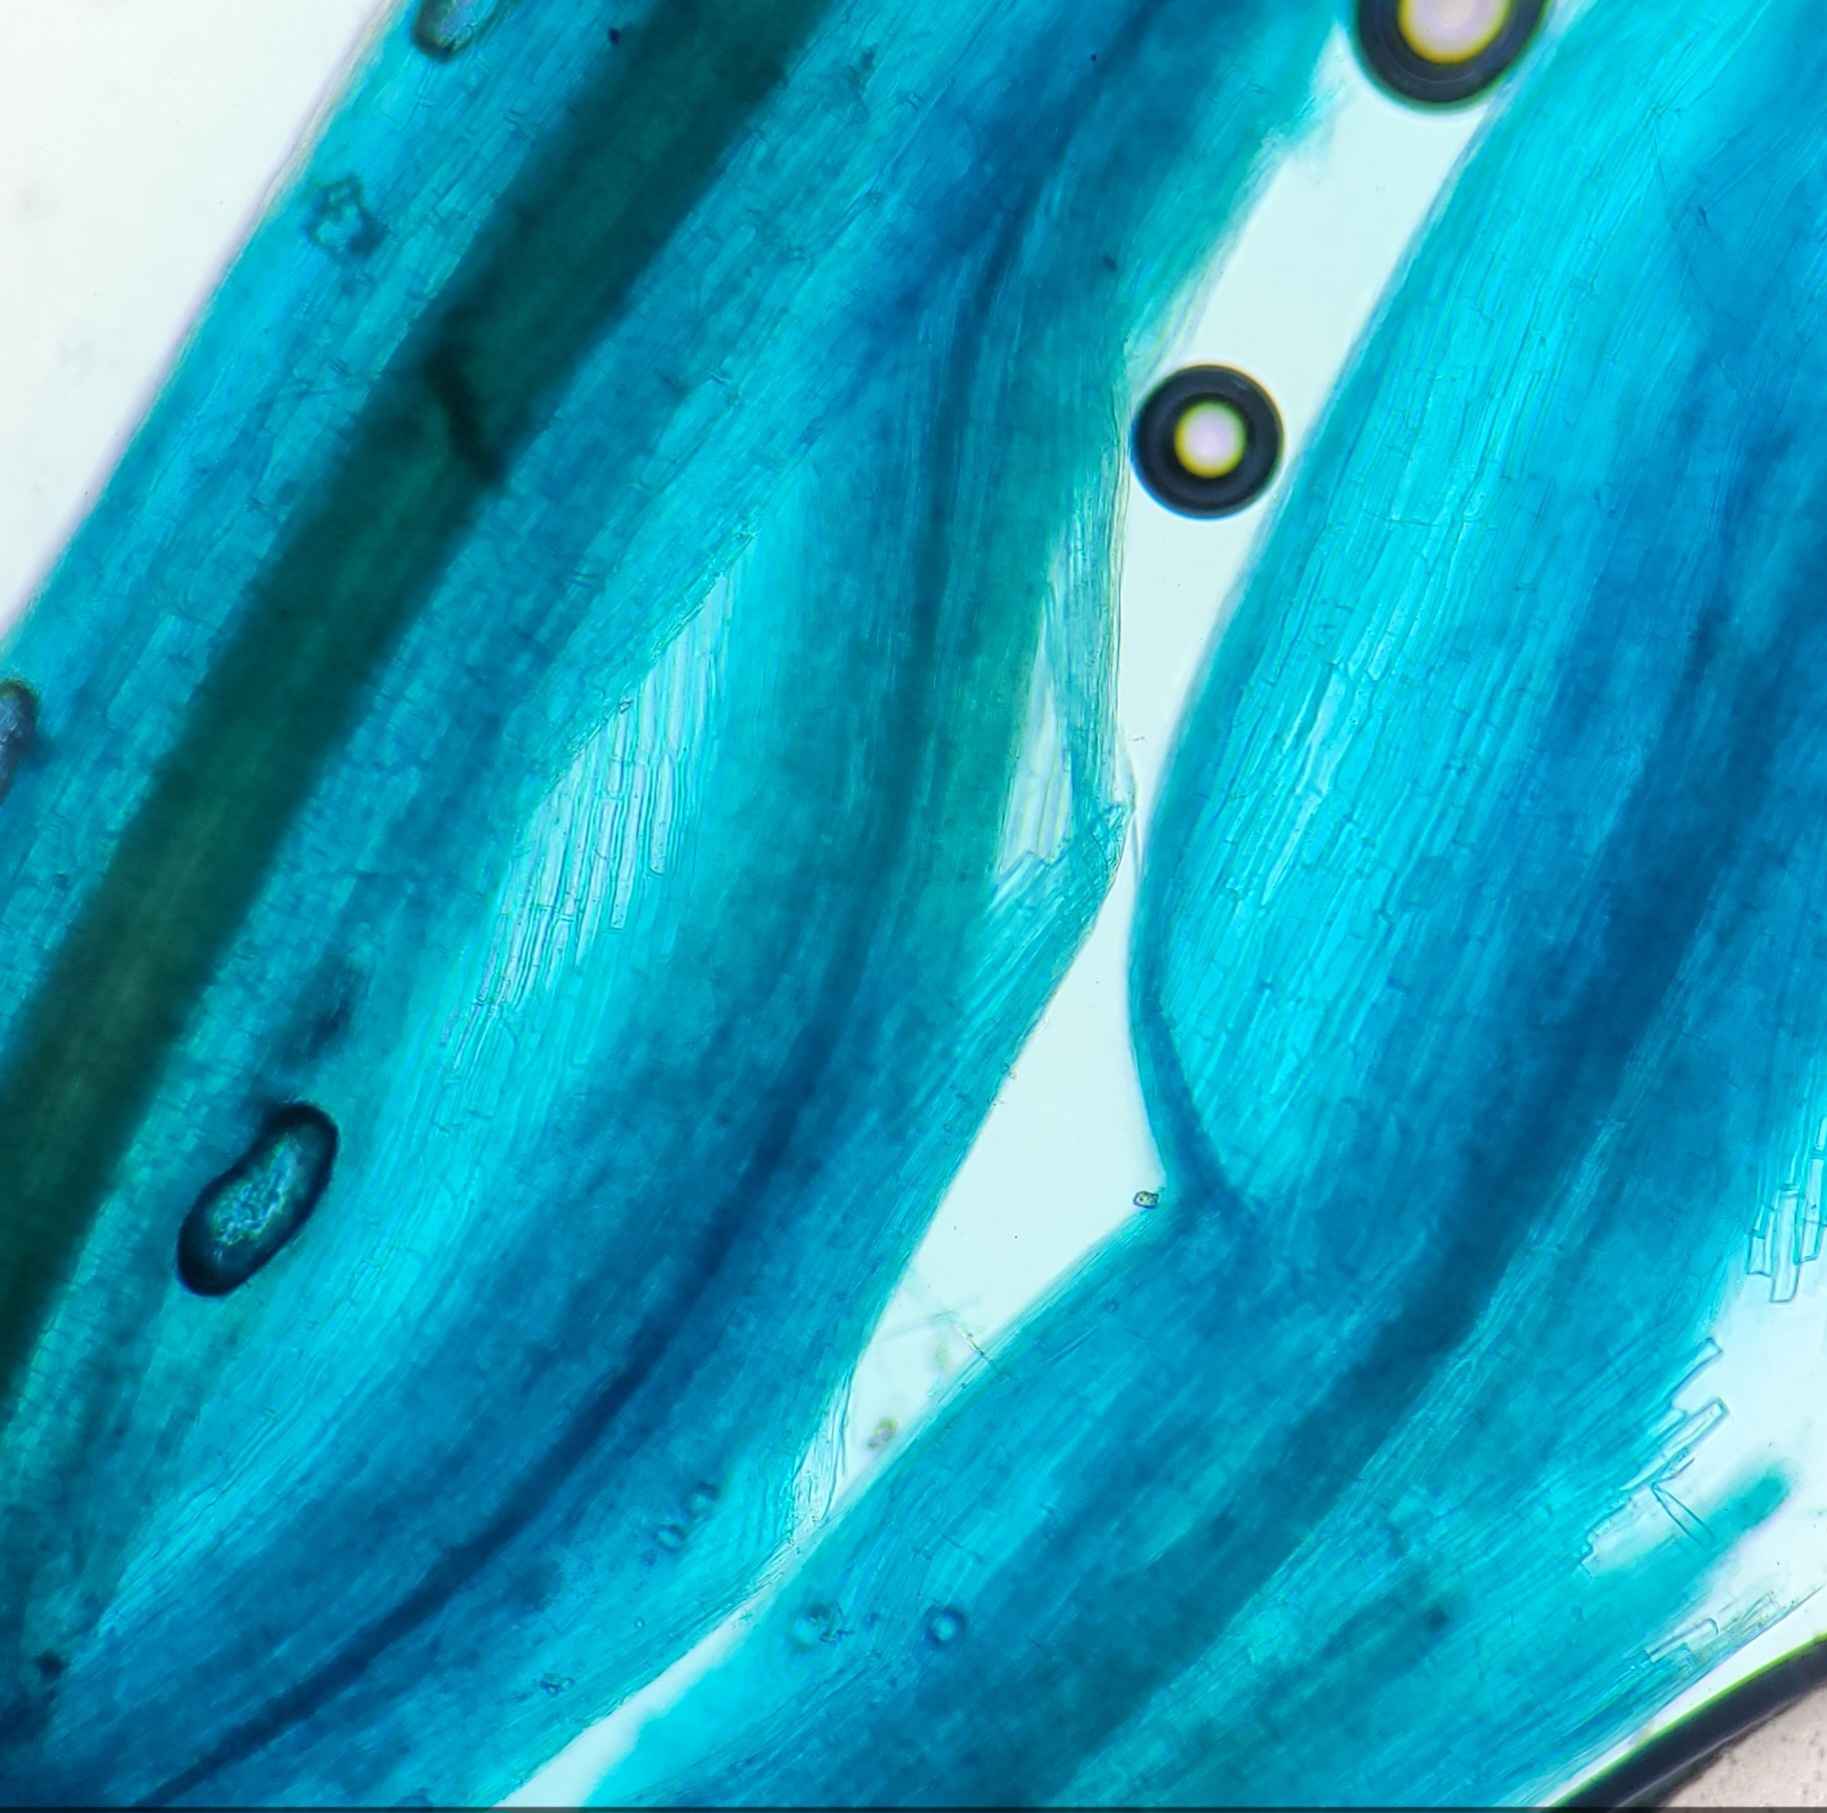
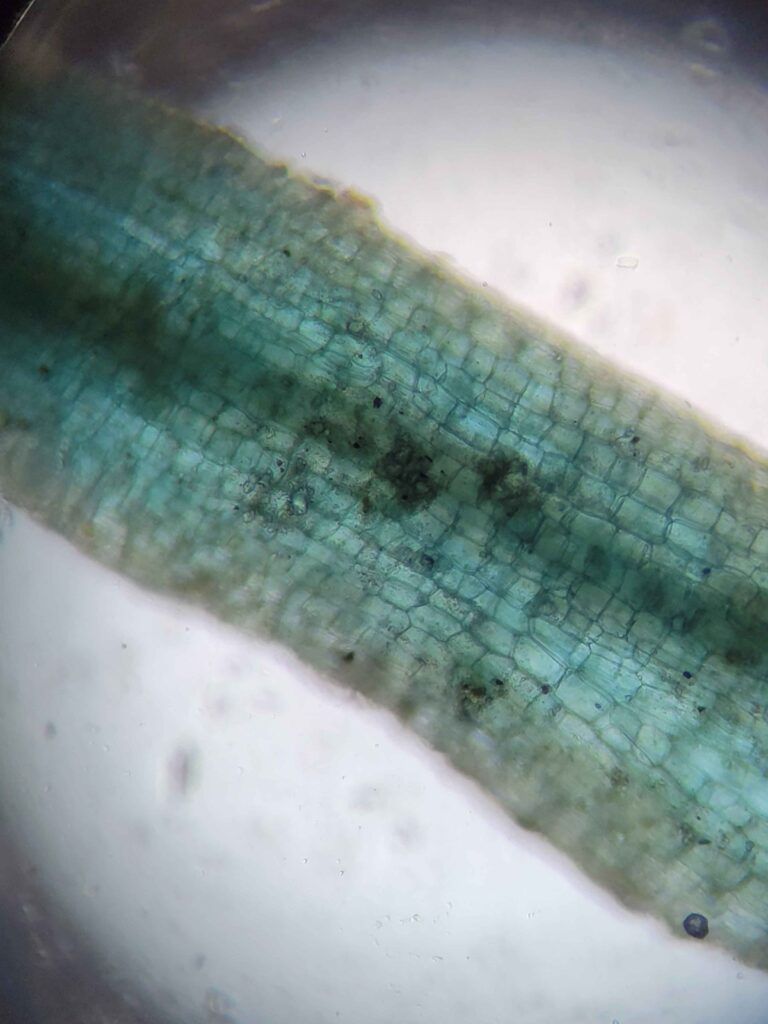
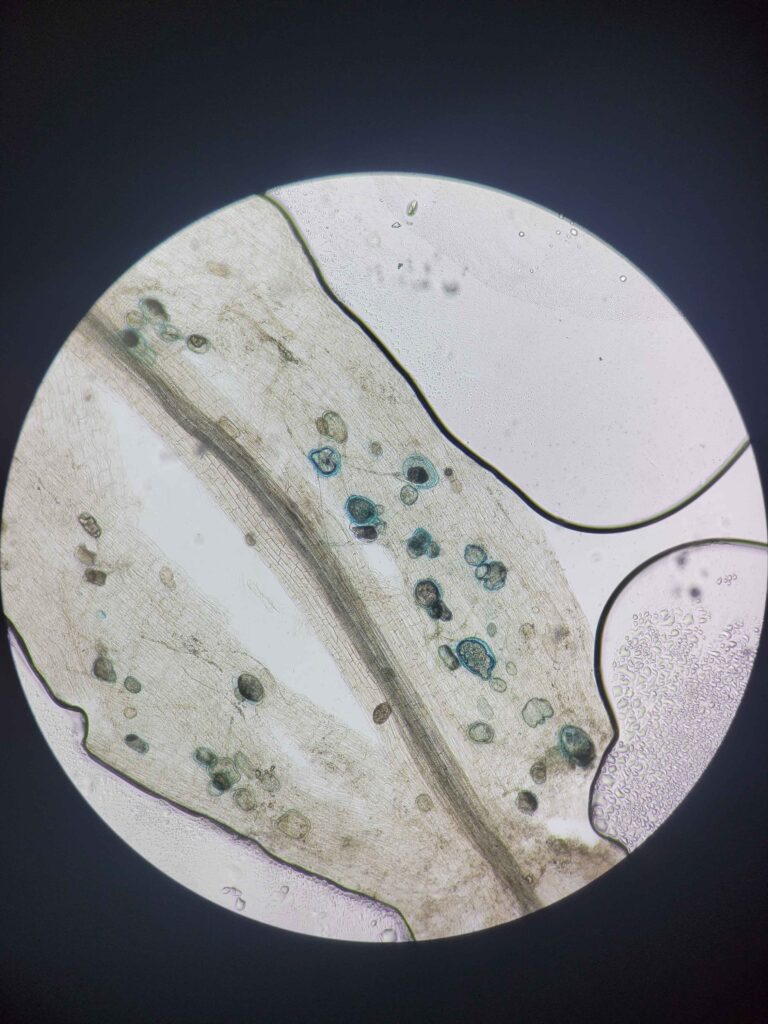
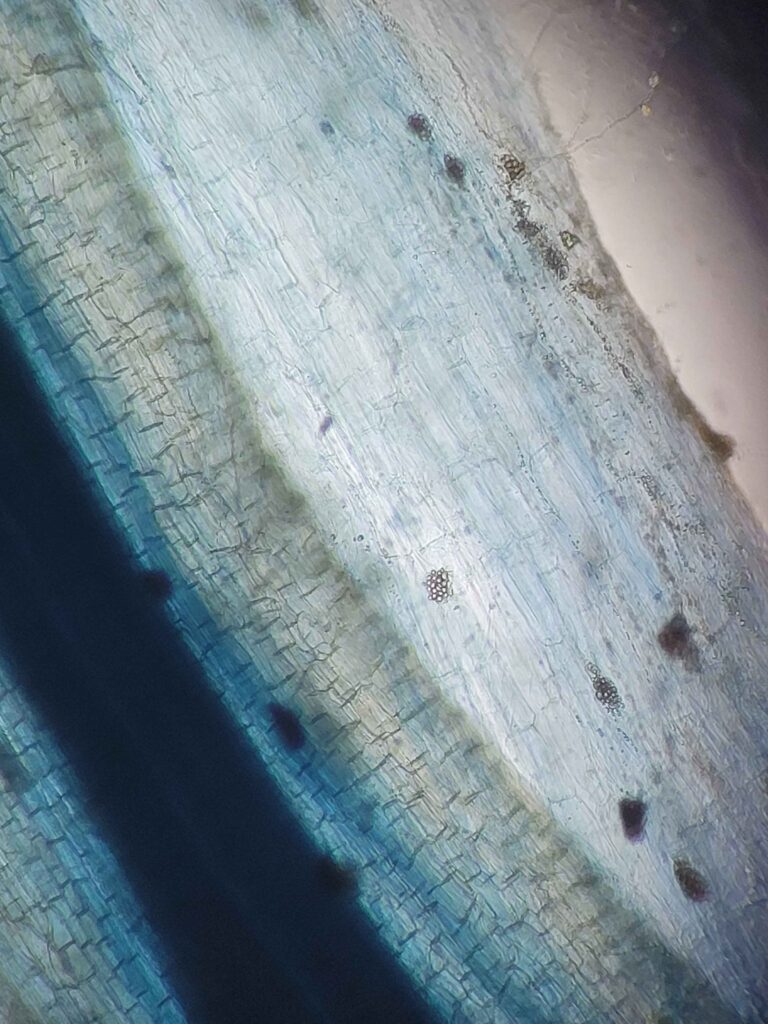
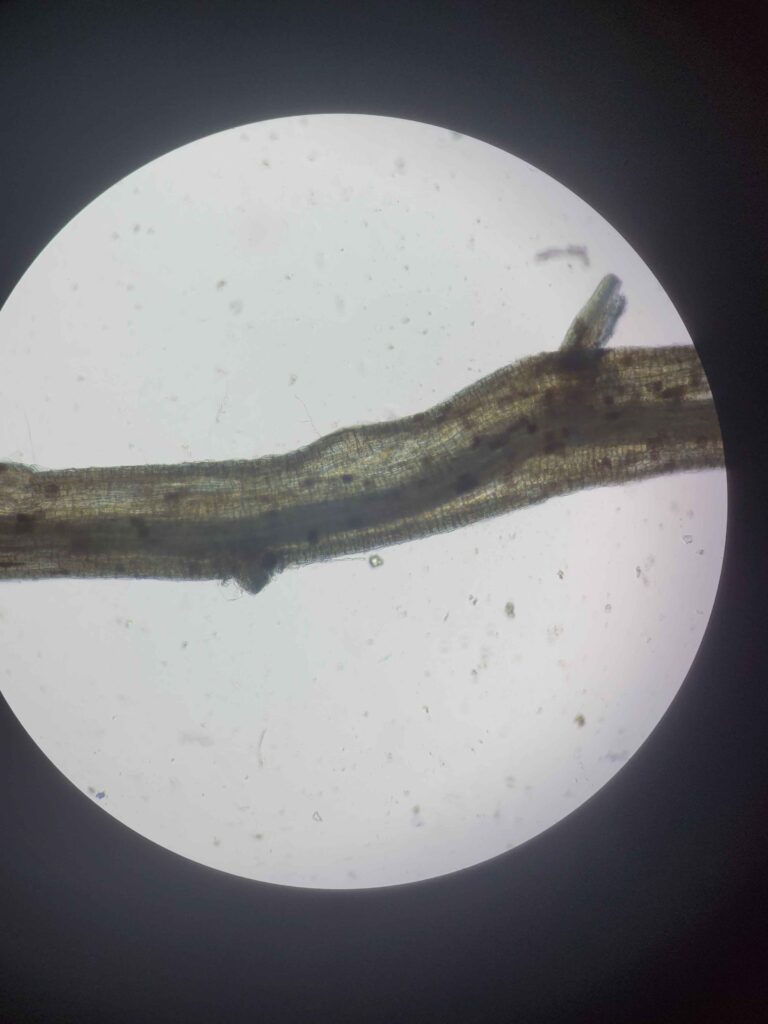
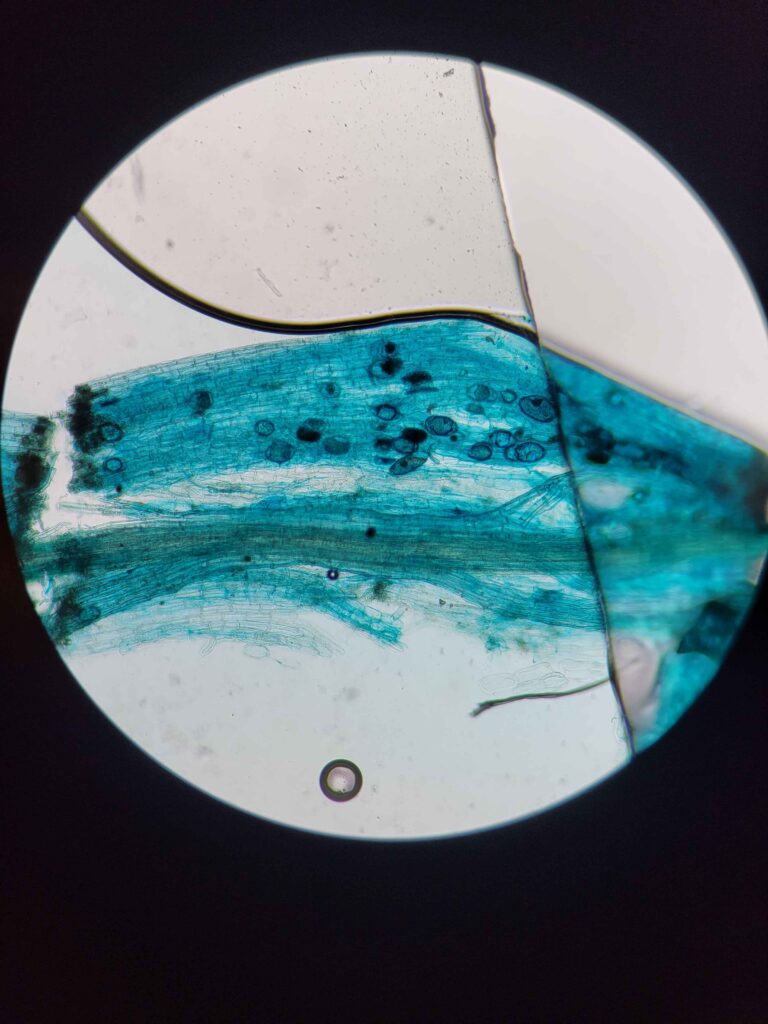
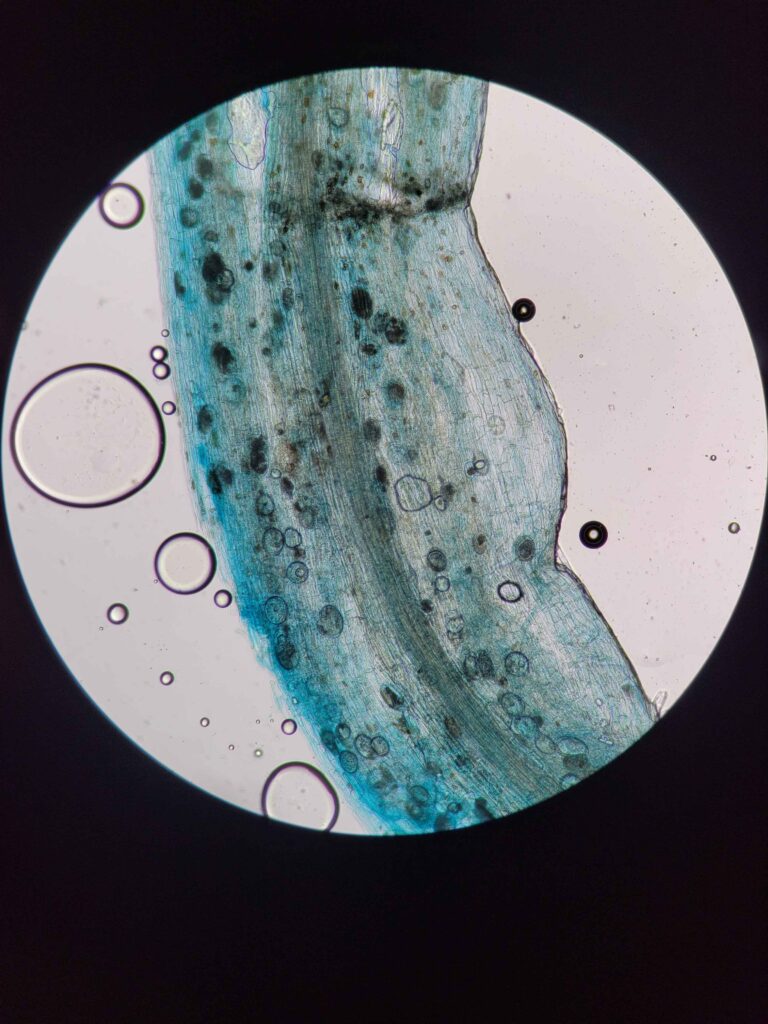
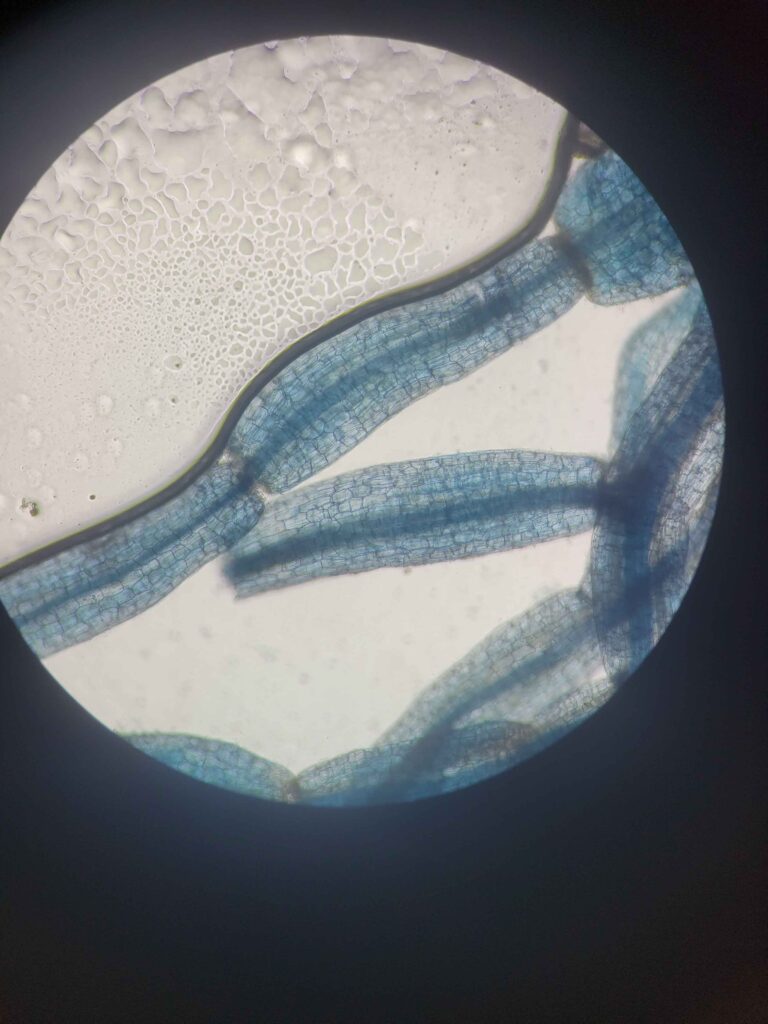
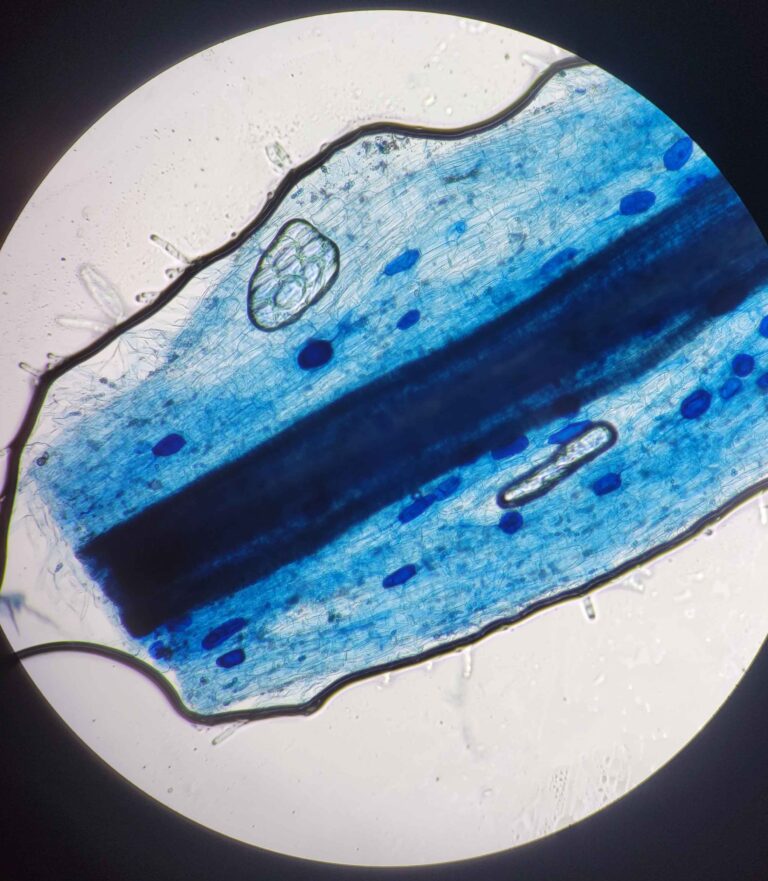
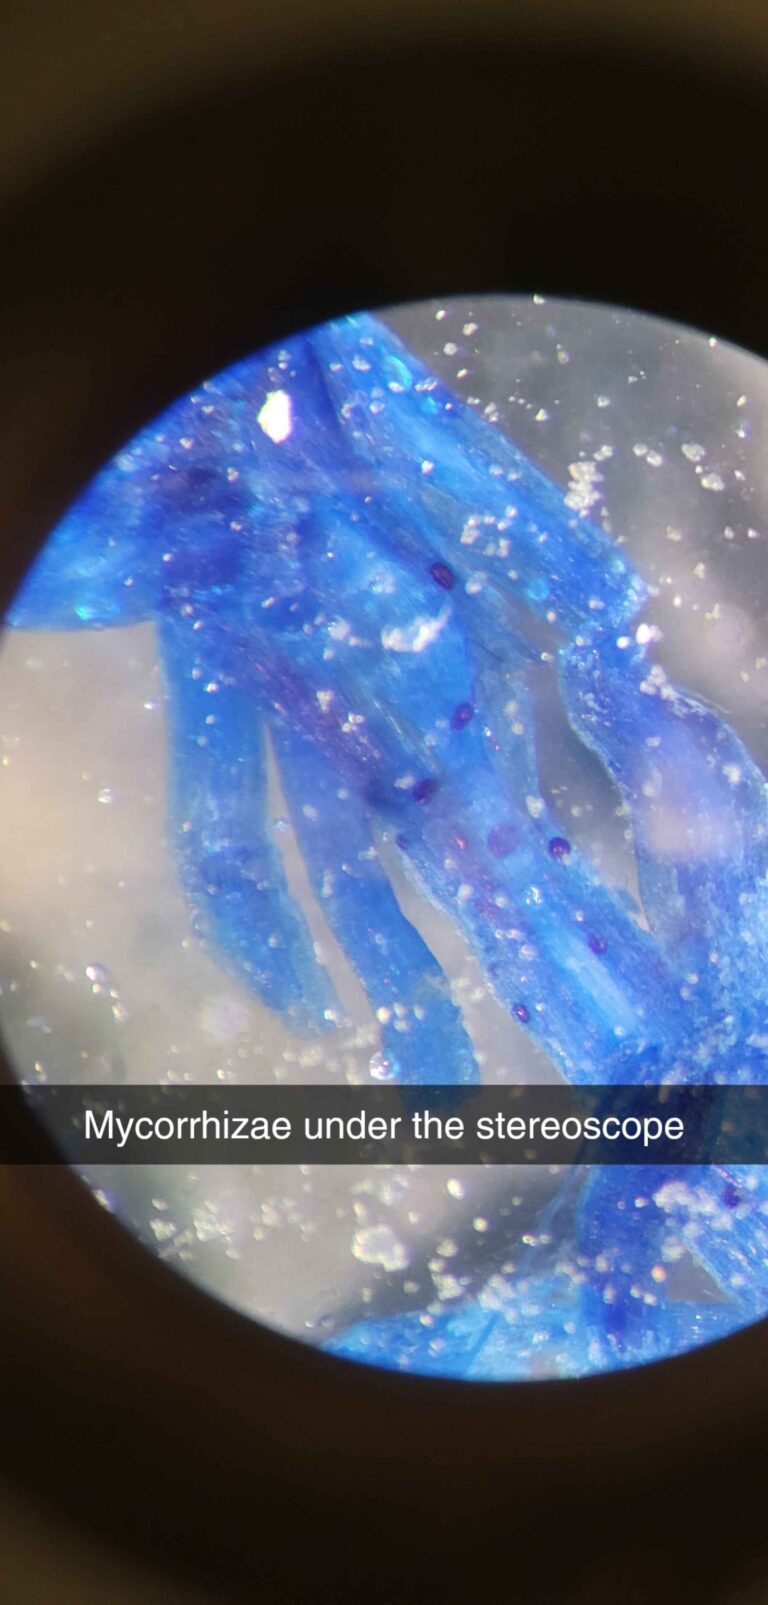
The protocol works via breaking down and evacuating the contents of the plant cells while keeping the fungal cells more or less intact. The fungal cells will be damaged enough for the stain to stick but not completely evacuated. This results in a clear plant tissue scaffold with dark blue splotches of fungal cells.
My theory as to why this works has to do with the fact that fungal cells are surrounded by very strong chitin, which prevents them from being completely evacuated. Plant cells are only protected by cellulose, which is more damaged by strong bases.
Lactoglycerol Trypan Blue Stain
This solution was designed specifically to make the stain stick to the fungal cells and not the cleared plant cells. Trypan blue stains some cellular proteins, and only those that have a damaged membrane (it cannot stain live cells). Hence, the plant cells are mostly entirely evacuated of proteins (most of the remaining proteins will be denatured by the strong base, although some do remain.) while the fungal cells still have enough intact proteins to be stained much darker than the surrounding plant tissue.
Trypan blue is the superior stain in this regard, although direct blue is comparable. Chlorazol black E is also potentially viable but is far worse in terms of contrast. Trypan blue yields the most superior contrast.
The lactoglycerol portion of the stain is necessary as a mounting medium. The stain will not penetrate and stick without it. Solutions of purely aqueous stain result in extremely poor staining and extremely low contrast, especially if not assessed directly after staining.
Usage of Color as a Clearness Indicator
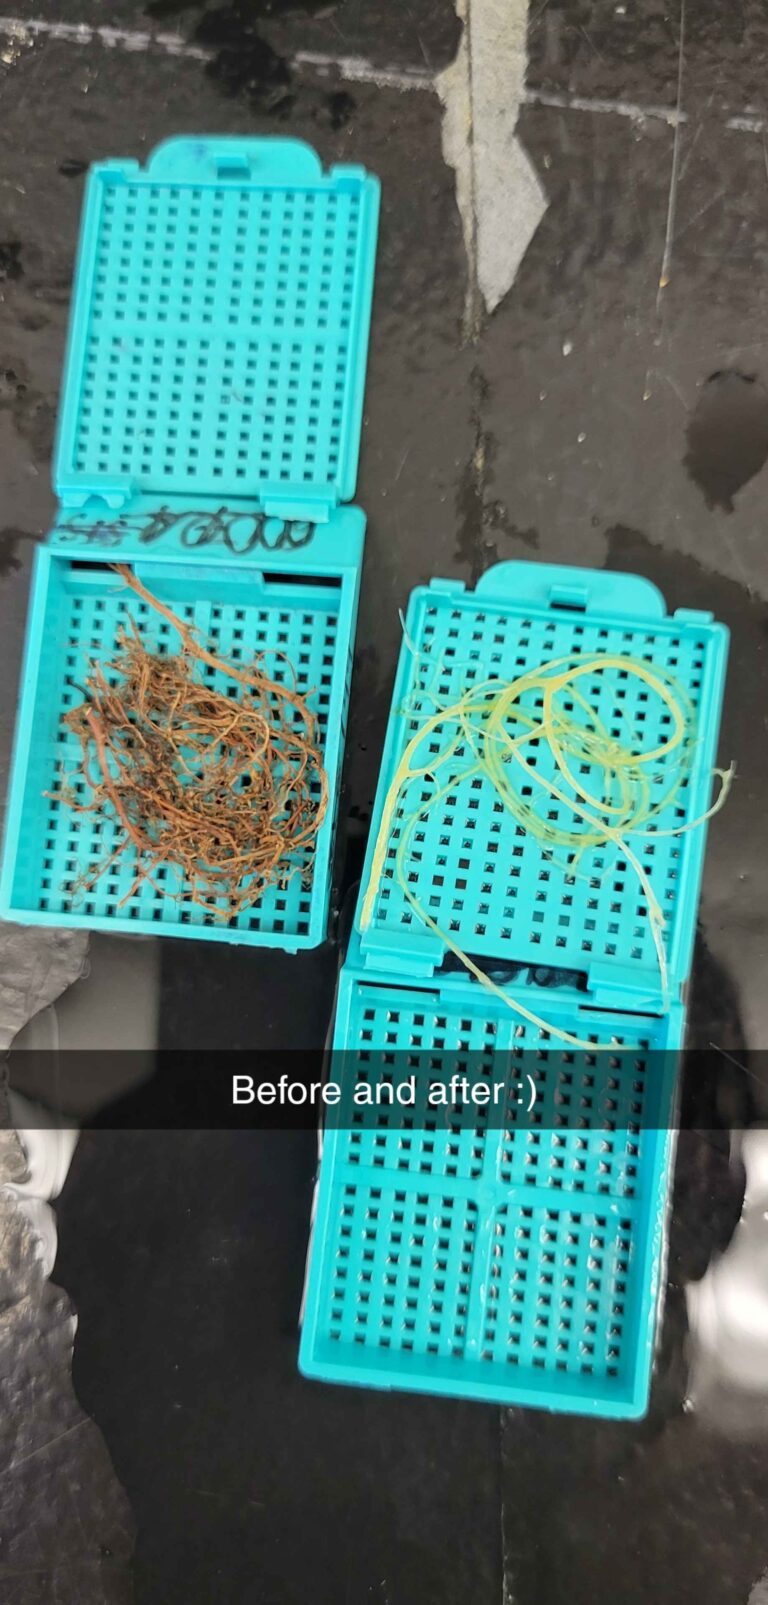
I specifically utilized color as an indicator of clearness because it is universal among all woody species. Each species of plant is cleared at a different rate that is often unpredictable. Utilizing time as an indicator for clearness doesn’t account for these differences and will leave some samples either far too opaque or far too overcleared. The process always ends when the solution turns yellowish green, but the time it takes does not correlate with clearness.
The color differences are due to tannins that are released by the cells as their contents are evacuated. Some species have more or less tannins, and some release them at different rates. The change in color will alway be the same regardless of rate or concentration.
As stated in the protocol, some plants will require more treatments with KOH until the color changes. This is to be expected in larger or thicker samples as well.
Usage of KOH as a Strong Base
A strong base is of course necessary for this protocol. There is no other known way to analyze colonization without expensive and intricate machinery and luminescent dyes. KOH is the best option for this because it is readily available and cheap.
NaOH can be used alternatively with extremely similar results. KOH is marginally better because it is a larger molecule and “attacks” the cells more violently. Note that if NaOH is used that the molarity has to be adjusted to slightly higher to account for this difference. I do not have data as to what extent.
A general rule of thumb for the KOH solution is to just do 10% weight by volume of KOH. I typically make a liter of solution for each batch, so I would use 100g of KOH granules. Quite frankly it does not have to be precise as long as the concentration is in that ballpark. It is not particularly troublesome to make more KOH solution than you need as it can be used in future batches.
Heating and Agitation
Heating the solution is of course beneficial because it speeds up the rate of the reactions between the strong base and cellular components and makes them far more vicious. It is possible for this reaction to be done at room temperature, but it takes several hours.
There isn’t any concern of overheating the samples as the temperature will plateau at boiling. High heats do not degrade the sample, rather, they often come out with higher contrast. There is no risk of “cooking” them, and I suggest holding them to as high of a temperature as is safe and possible.
Placing the samples in an autoclave for about an hour is also effective in terms of quality, although it takes much longer and is less precise. It was far harder to control when heating and agitation was applied and for what lengths. I have limited data on this method because it was impractical to me, but it may be useful for somebody who is doing this as a side task and does not want to constantly monitor a boiling hot plate.
Agitation is a key component of this protocol. Agitating the solution has multiple modes of action, including removal of neutral components, clearing the cells via mechanical removal, and increasing the rate of reactions. This drastically speeds up the protocol in addition to the heating.
Any form of agitating can be used, although I find that a gyrating mechanical agitation table is the most effective. Magnetic stirring was ineffective due to the stir bar getting knocked away by the cassettes, and when it did work, it was not very powerful. A suspended anchor agitator may be more effective, although I did not have that equipment available and have no data on it. Vibrating agitators are also largely ineffective. I have no data on rocking agitators, although I hypothesize that they would be the most superior agitator if the vessel can be used in it without spilling.
Addition of H2O2
The usage of an oxidizer in a protocol like this is quite nonstandard, but I find that it is useful for obtaining clearer samples with a higher contrast between cells. I specify H2O2 because other oxidizers are too violent for the structure of the cells. HClO4 at low concentrations can be used as well, although my data on the exact concentration is limited. It will sometimes result in “mushy” or overcleared samples. The mixing of residual KOH in the samples and HClO4 can also release gaseous chloride compounds, which although is generally not that big of a deal, is not necessary given a better alternative.
The reaction between residual KOH and H2O2 is not detrimental to the results. It only creates oxygen and water, which is of course not harmful. To my understanding there may also be a low concentration of superoxides that form, but they would have a negligible interaction with the plant cells. If anything they would help degrade cell membranes and proteins within the cells.
Heating the mixture helps to further catalyze the oxidation of cell organs, although it does accelerate the natural breakdown of H2O2. This is not of concern as there will be enough H2O2 in the solution to be effective. I don’t have further theoretical details as to why it makes the protocol more effective, but the data suggests that it makes clearer specimens, especially in those with higher tannin concentrations.
I find that it generally helped to do the oxidizing treatment after an initial base treatment, most often after the second treatment. My hypothesis as for why this is is that the strong base “cracks open” most of the cellular components so that the oxidizer can then attack them further. An additional subsequent base treatment clears the remaining proteins. Oxidizer treatments are largely ineffective if they are done as the first step and are moderately less effective if they are done as the final step.
TO BE CONTINUED